![Image2icon Mac 資料夾圖示 更換](https://host.easylife.tw/pics/author/yohnu1/201801/Image2icon/Image2icon.png)
最近好像很流行玩客製化,連 Mac 上的陳年藍色資料夾也能客製化,試試看 Image2icon,它是一款可以客製化 Mac 資料夾的小工具,只需要兩個步驟就能輕鬆幫資料夾換衣服,先找到要喜歡的照片,準備幫資料夾做替換,接著全部用拖移的方式就可以完成,如果早就找到喜歡的圖片,整個過程 10 秒內就完成啦,測試完之後還是不要每個資料夾都變裝比較好,一次變太多反而會眼花撩亂!
![Image2icon Mac 資料夾圖示 更換](https://host.easylife.tw/pics/author/yohnu1/201801/Image2icon/1.png)
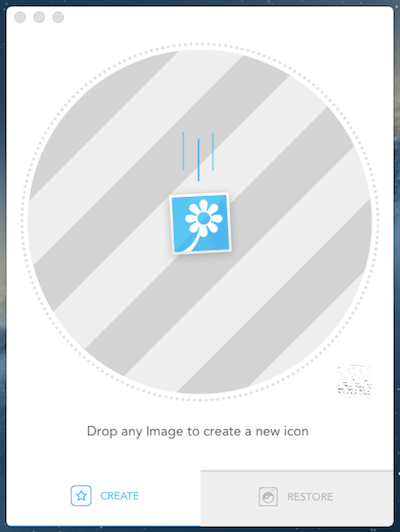
△ 安裝後長這樣,第一個步驟是先把喜歡的圖、照片拖進去。
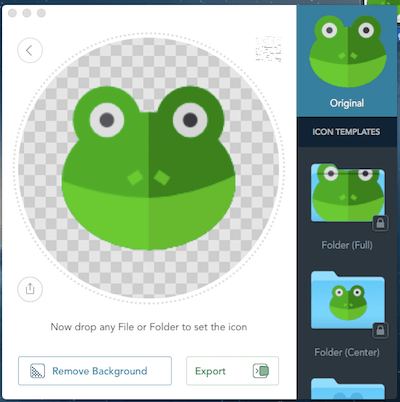
![青蛙 Image2icon mac](https://host.easylife.tw/pics/author/yohnu1/201801/Image2icon/2.png)
△ 這邊用青蛙做示範
![資料夾 變換圖示](https://host.easylife.tw/pics/author/yohnu1/201801/Image2icon/3.png)
△ 第二個步驟是把要變裝的資料夾拖進來
![Image2icon 資料夾圖示 青蛙](https://host.easylife.tw/pics/author/yohnu1/201801/Image2icon/4.png)
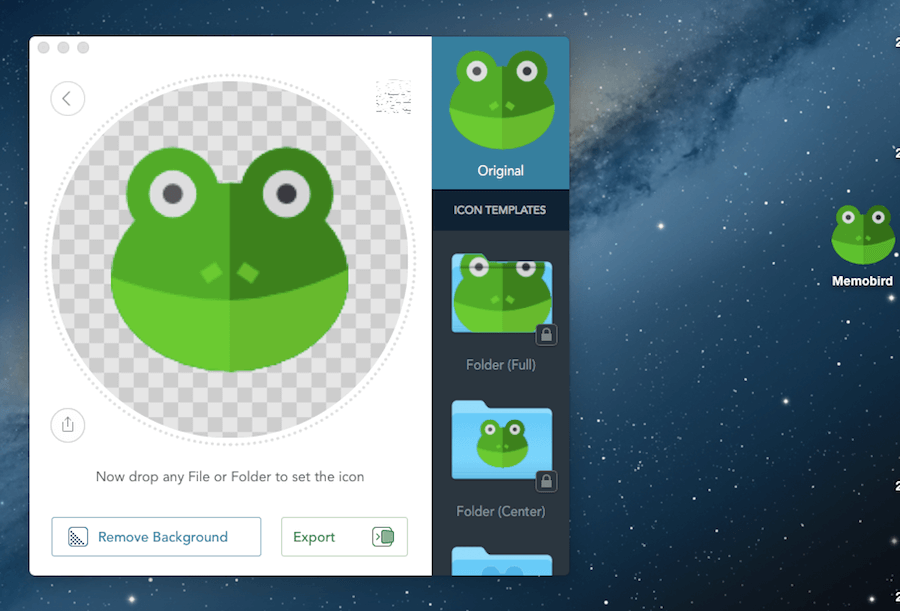
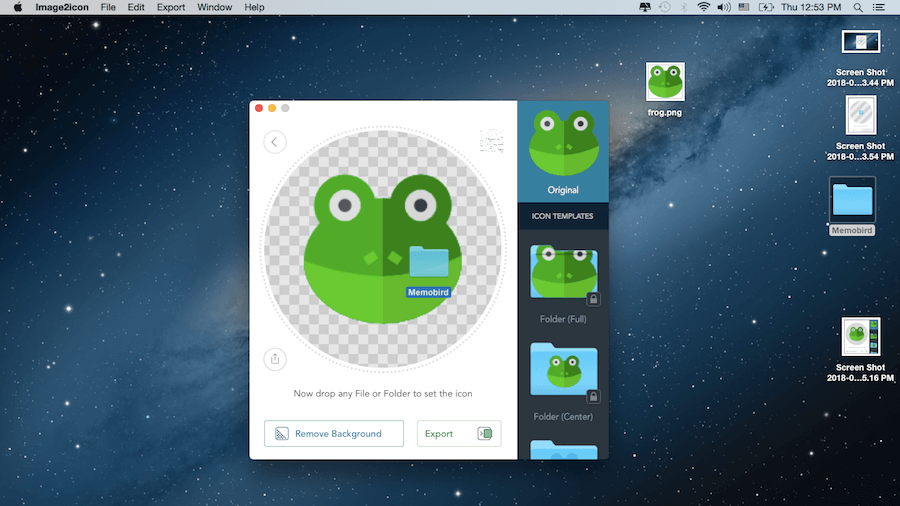
△ 神奇的事發生了,看看右邊的資料夾活生生變成青蛙啦!
![Image2icon Mac 資料夾圖示 更換](https://host.easylife.tw/pics/author/yohnu1/201801/Image2icon/5.png)
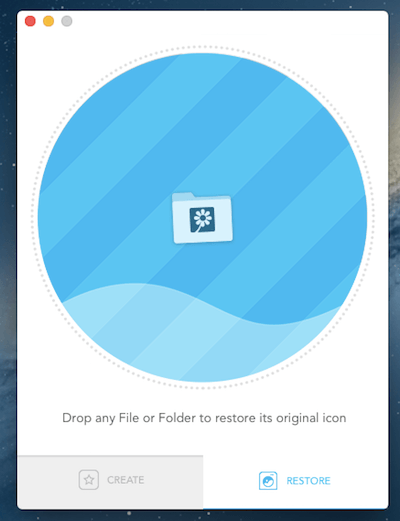
△ 資料夾變成青蛙後,我想到的第一件事是怎麼復原,很簡單只要按右下角的 RESTORE,將要復原的資料夾拖進來就完成啦!
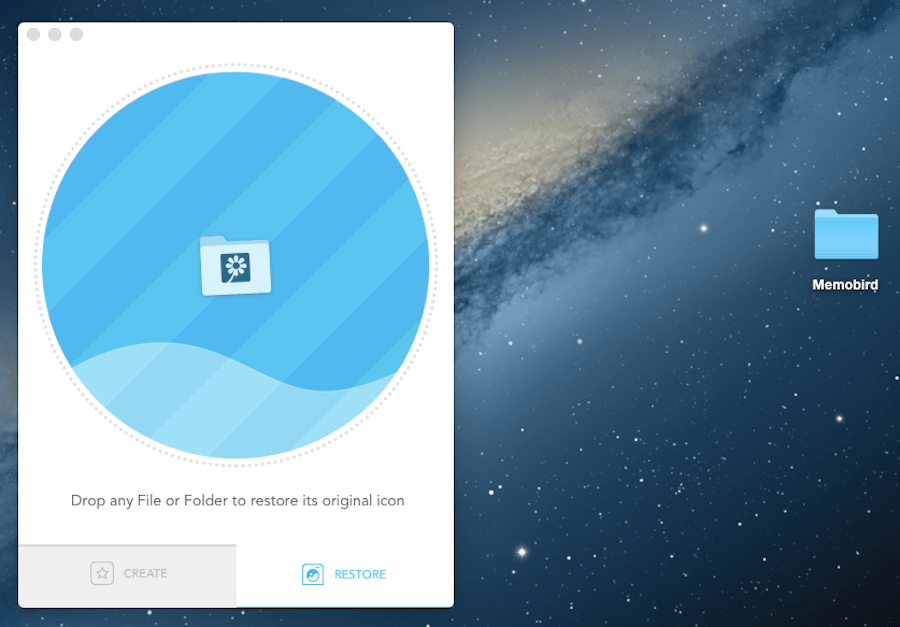
![Image2icon Mac 資料夾圖示 更換](https://host.easylife.tw/pics/author/yohnu1/201801/Image2icon/6.png)
△ 一鍵就讓右邊的青蛙資料夾現出原形~
Image2icon 載點:點我